
What you print on an envelope can make a difference between it getting discarded or opened. And since getting it opened and the contents read is the whole point of a mailing, it’s important to pay attention to not only what is printed but how it is done.
What you print is the result of your marketing research and the ideas of your creative team. Sometimes graphic designers will try to use all of their skill in one design. This can make for an interesting concept but it’s not always practical in its actual application. Here are some things to keep in mind when custom printing an envelope for best results (not in any particular order).
Keep your Budget in Mind – The more colors and the more print coverage you design for your envelope, the more it will cost. If you’re a buyer for a large corporation, this may not matter. But if you’re a small businessperson with a limited amount to invest, you should ask your envelope converter or envelope printer what is possible for the amount you have in your budget.
Size Matters – By which I mean the size of your mailing; i.e. how many envelopes you need. If your mailing is small, 5,000 or less, you can print digitally which can give you a lot more economical options for color and coverage than you would get if the amount were larger and you had to switch to offset or litho printing. Again, your envelope converter or envelope printer would be able to guide you in the right direction for what you’re looking for.
The Process Can Make a Difference – By “process” I mean the type of printing you’d use to achieve the best result. As I’ve written in other blog posts, there are several different ways to print an envelope; digital, offset, flexo and litho. Each one has its unique advantages and uses depending on the quantity you’re ordering, the amount of printing you want and the quality required and the price you can afford.
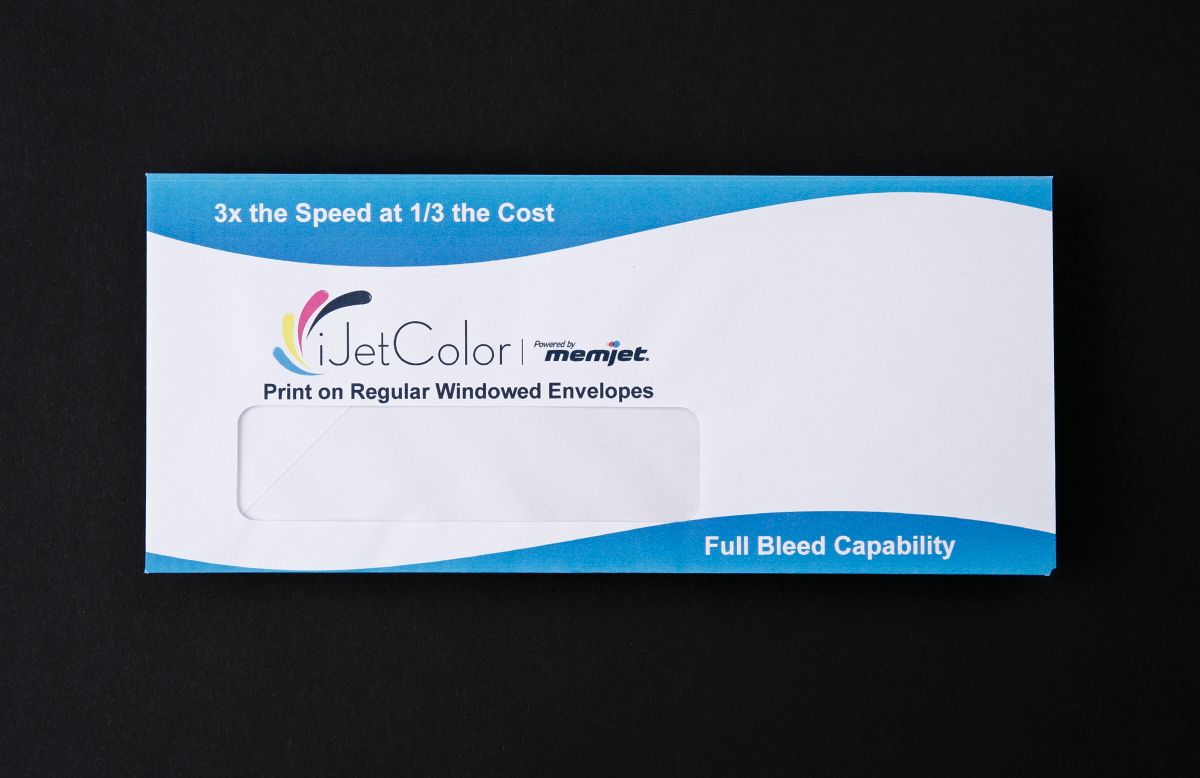
Seams and Windows Can Present Problems - Many custom printed envelopes have windows which show the address. If you’re printing on a window envelope, you have to allow at least 1/8” of white space around the window with no printing. If you want the printing to go right to the edge of the window, you’ll have to print on flat sheets and then have the envelope converted (manufactured) which is more expensive. Seams are formed when the envelope is folded and glued together. Two pieces folded together creates a slightly elevated ridge which can affect the look of the printing when the printing press roller comes in contact with it. You need to be mindful of the placement of your print copy and take the seams and window into account.
Take Variation into Account – Envelope manufacturing and custom envelope printing are done on precision machines but there is a certain amount of tolerance or variation inherent in the process that has to be considered. Images can move as much as 1/16” of an inch during printing. Envelope converting can have as much as 1/8” variation due to the cutting and folding. You can read more about that here. If you’re designing an envelope with copy that “bleeds” (prints to the edge), you need to take into account the variation factor and design accordingly.
As always, feel free to e mail me directly at jerry@eliteenvelope.com if you need any advice whatsoever on getting the best result for your custom envelope or envelope printing. I’m glad to help – no charge!