
In my previous post, we took the converting process from the point where the printer prepares the sheets and ships them to the envelope converter. Once the sheets are received, the envelope converting process for custom envelopes actually begins.
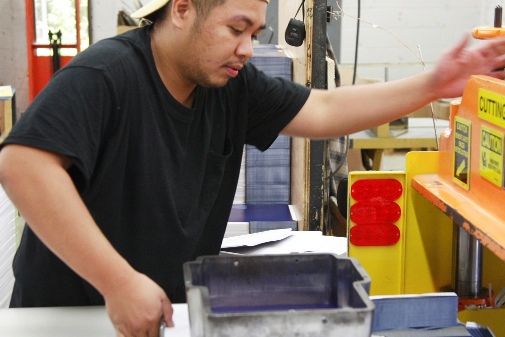
The first step is die-cutting the envelope blanks out of the sheet. The envelope company will use a steel die – resembling a cookie cutter (see picture). This is also sometimes referred to as a “high die” as the sides are generally around 4 inches high to account for the size of the ream being cut.
Depending on the quantity of the envelopes to be converted, the die-cutting will be either done by hand as the picture shows or in an automated fashion using a programmable hydraulic press (PHP). The hands-on method allows for a little more accuracy and individual adjustments on cuts which can be improve the results on certain jobs. Once the envelope blanks are cut out of the sheets, they are stacked and ready to be fed into the folding machine.
Some tips to ensure a problem-free converting experience:
Always ensure that the sheets are printed exactly per the layout/template provided by the envelope converter. If you don’t get one at the time of the order, ask for it. The converter knows how the job is to be laid out on the sheet for best results. Going by the layout and submitting a proof sheet for prior approval can prevent many of the most common errors.
As I’ve covered in previous posts, there is variation inherent in both the cutting and folding of an envelope. If you are printing an envelope that has color which bleeds to one of the folding edges, you must wrap-around the image by at least 1/8” to ensure no white space shows. The only way to significantly minimize this variation without the wrap-around is to individually die cut each envelope prior to folding. This is a much more costly process and not feasible on a large order. Plus, because of the folding variation, you’re still not going to get them all perfect.
If your envelope has full ink coverage all around, you must leave a space – called a no-print area – on the side flaps where they meet the back panel and also on the back panel where it meets the flap. This is where the glue is applied to hold the envelope together and seal it. The adhesion property of the glue is significantly lessened when it is applied on top of heavy ink coverage. The layout provided by the envelope converter should have these areas marked off.
If you’re looking to make a custom envelope that really stands out, consider dealing directly with an envelope converter rather than an envelope printer who doesn’t also make envelopes. They will give you the expertise you need to ensure your job is a “cut” above.